A Simple Walkthrough of Kubernetes Pod Creation
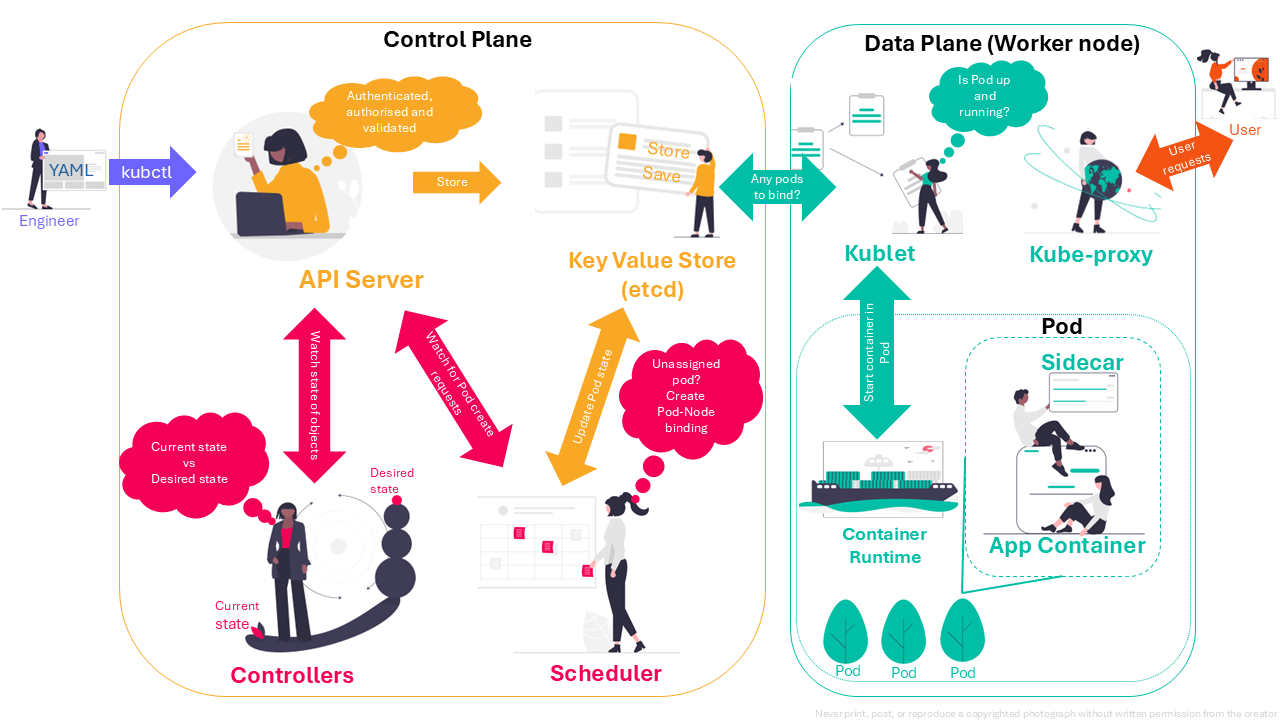
From Pod Definition to Live Pod
By now, you likely know that Kubernetes is an open-source container orchestration engine for deploying, scaling, and managing containerised applications. There is no shortage of resources on Kubernetes. In fact, there is so much information out there that it feels overwhelming, especially for beginners.
If you’re like me and already have a basic understanding of Kubernetes but want to dive deeper into how a Pod is actually created, then you’re in the right place.
In this post, I’ll cover each step of Pod creation — from defining a Pod in YAML to seeing it live and running.
Define Pod
Let’s begin by creating a YAML file that details the specifications of the Pod. This file is like a blueprint, containing essential settings like container image, resources, and environment variables, which Kubernetes uses to create the Pod as you’ve envisioned it.
Action:
Create a file called nginx-pod.yaml:
    apiVersion: v1
    kind: Pod
    metadata:
      name: nginx-pod
    spec:
      containers:
      - name: nginx
        image: nginx:latest
        ports:
        - containerPort: 80
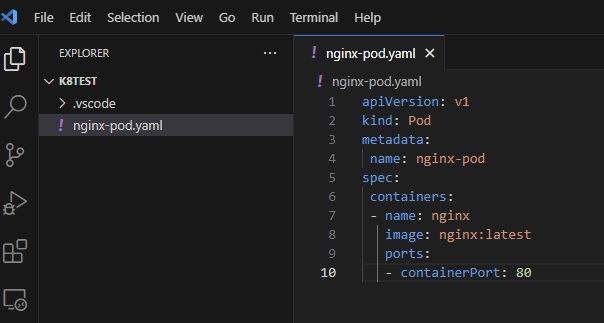
Explanation: This YAML file defines a Pod named nginx-pod with a container running the nginx:latest image and sets up port 80 to handle HTTP traffic.
API Server Receives the Request
When we apply our YAML file using the kubectl command, the Kubernetes API server validates the file for any errors and updates the etcd database with the Pod’s configuration. This step ensures the instructions are stored securely and are ready to guide the creation of the Pod.
Action:
Run the following command to apply the file:
I used Minikube as it lets you run a single-node Kubernetes cluster inside a virtual machine on your local computer. There are other options available like Docker Desktop Kubernetes, MicroK8s, Kind etc.
Note - Docker desktop app should be running before running the Minikube command.
    minikube start --driver=docker \
    --addons=dashboard \
    --addons=metrics-server \
    --addons="ingress" \
    --addons="ingress-dns"
    kubectl apply -f .\nginx-pod.yaml
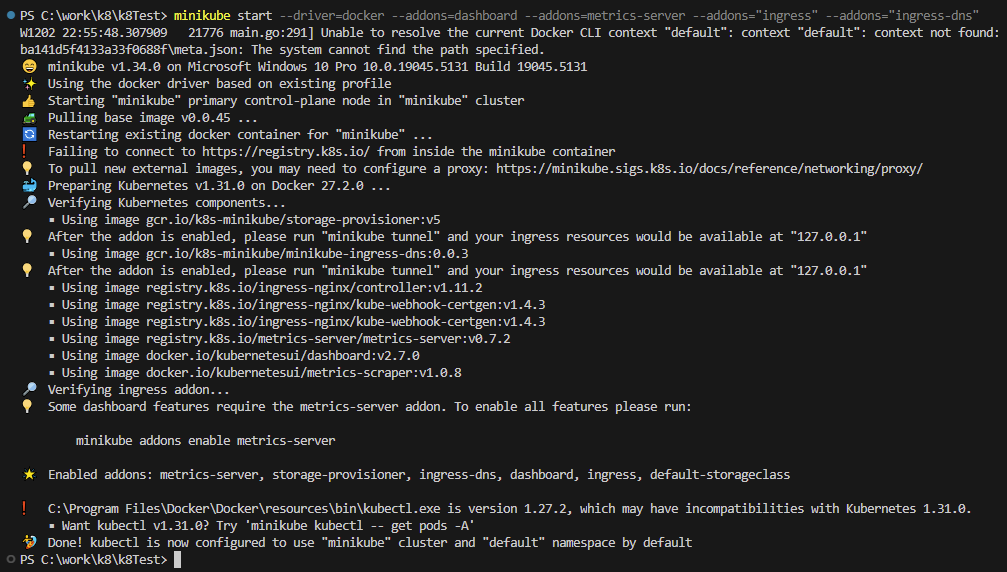
kubectl apply -f .\nginx-pod.yaml

Explanation: This command sends the Pod configuration to the API server, which validates it and records it in the etcd database. This is the first step in creating Nginx server Pod.
Controller Takes Action
The controller continuously monitors the cluster’s desired state against the actual state. If it detects that the Pod isn’t running as specified, it triggers adjustments to match our instructions, helping maintain a consistent environment.
Action:
The controller sees that nginx-pod is not yet active in the cluster and initiates its creation.
Explanation: The controller’s role here is to ensure that a Pod named nginx-pod is created and stays in the desired state. If it crashes or is removed, the controller will step in to recreate it, maintaining the desired configuration.
Scheduler Gets Involved
If the Pod is still in a “Pending” state, the scheduler steps in to find the most suitable node for it based on available resources and constraints. This ensures efficient use of cluster resources, so the Pod runs optimally without conflicts.
Action:
The scheduler finds a node with available CPU and memory, and assigns nginx-pod to run on that node.
Explanation: Here, the scheduler analyses the resource requirements of nginx-pod and picks a node with sufficient capacity. This helps balance the load across the cluster and ensures that the node has enough resources to handle the Nginx server workload.
Kubelet to the Rescue
Once a node is selected, the kubelet (an agent running on the node) retrieves the Pod’s specifications from the API server, downloads the necessary container images, and initiates the Pod. It’s responsible for maintaining the health and operation of the Pod on that node.
Action:
The kubelet on the assigned node fetches the Pod specification, pulls the nginx:latest image if it’s not already available on the node, and starts the Nginx container.
The kubelet will pull nginx:latest from public registry like Docker Hub.
We can specify a custom registry by including the registry’s URL in the image name. For example, example.com/mynginx:latest tells the kubelet to pull the image from example.com.
If the image is stored in a private registry then authentication credentials will be needed.
Explanation: The kubelet is the primary agent responsible for actually running the container in the node environment. It pulls the nginx image, initialises the container, and manages its lifecycle, such as restarting it if it fails.
Pod is Live
After the kubelet finishes setting everything up, the Pod’s status changes from Pending to Running. This means all components are active, and our Pod is ready to handle any assigned workloads, completing the creation process!
Action:
Check if the Pod is running with the command:
kubectl get pods
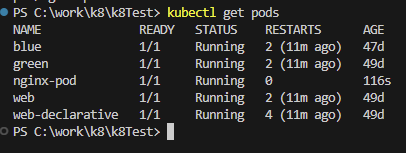

Explanation: When the nginx-pod status shows as Running, the Nginx server is live and ready to serve requests within the Kubernetes network. We now have a fully operational Nginx Pod, all set up to handle web traffic in our cluster.
We have successfully deployed an Nginx web server in Kubernetes from a YAML specification to a fully running Pod in the cluster. To open Minikube dashboard, runminikube dashboard

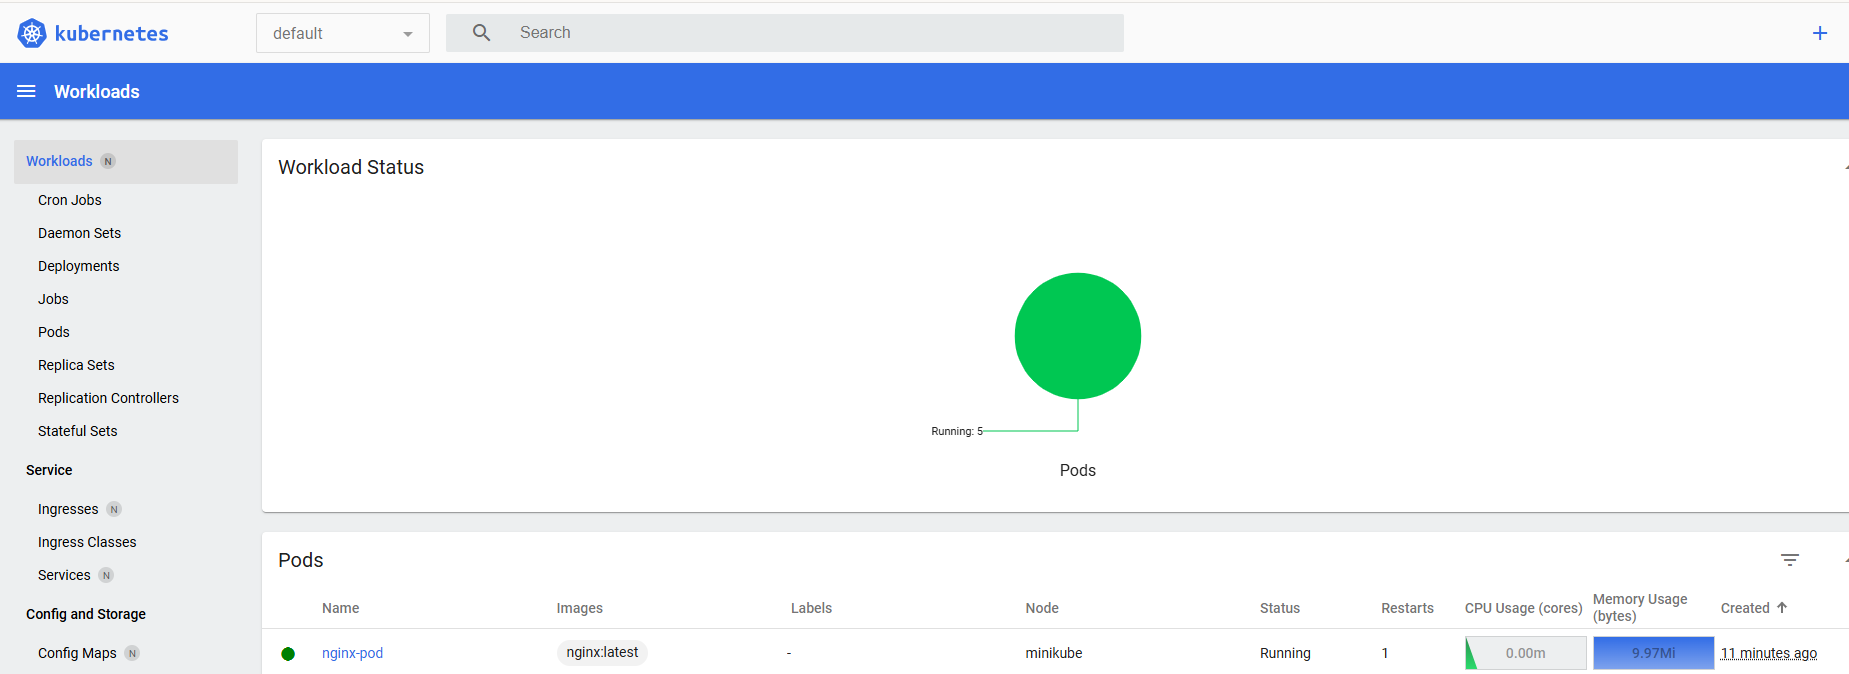
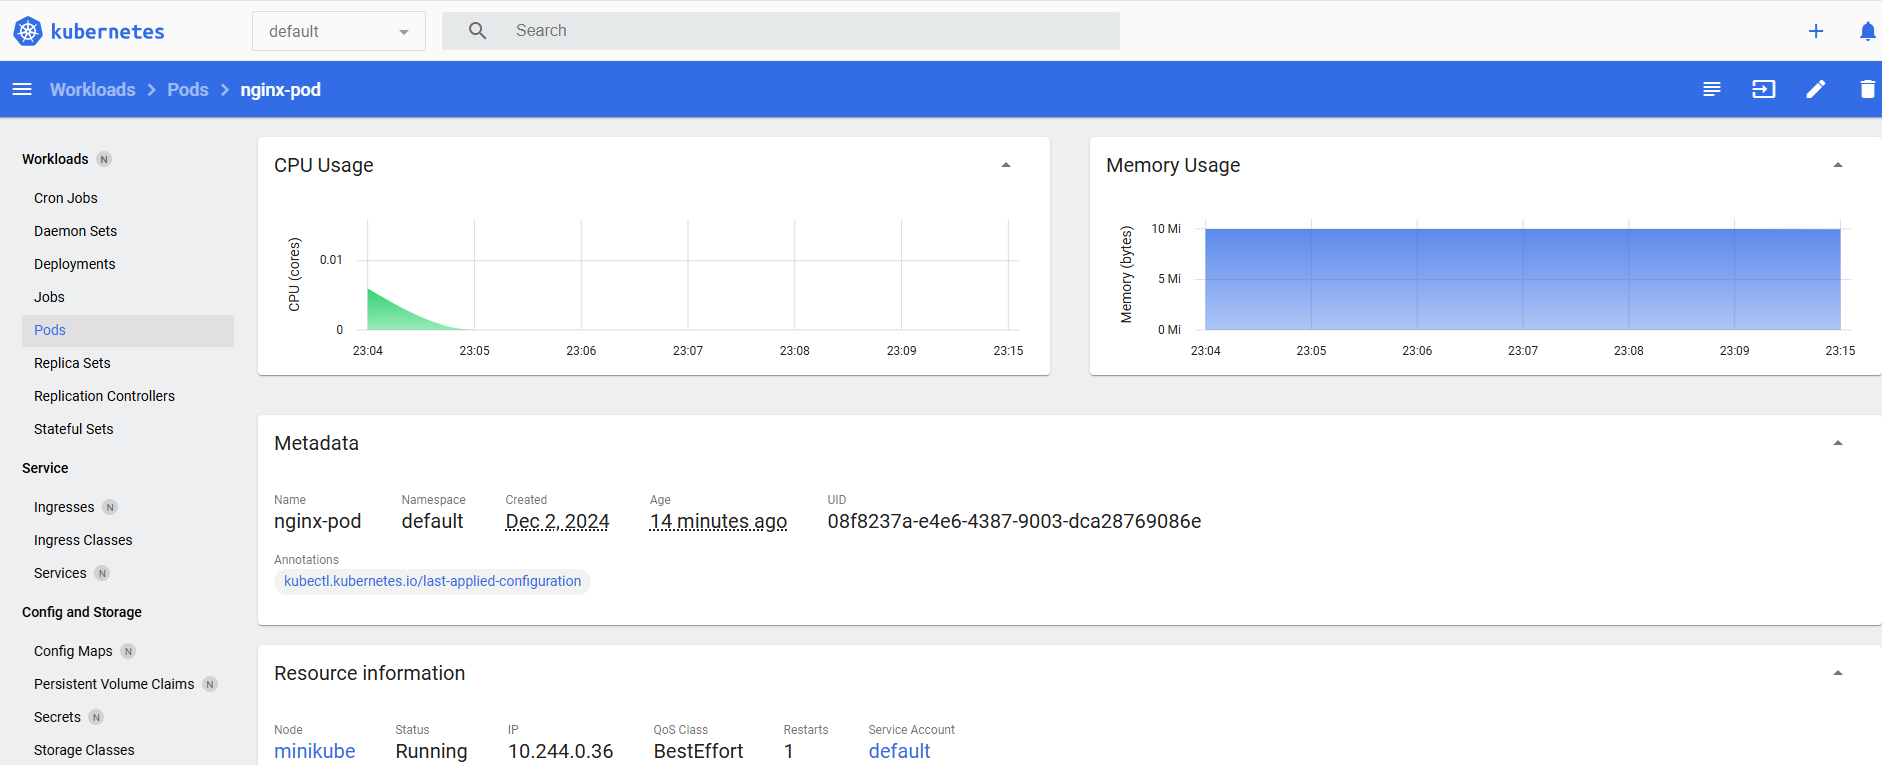
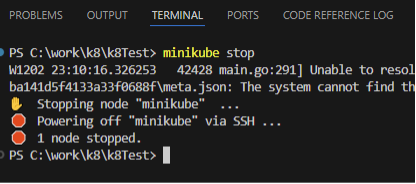
To stop Minikube, run minikube stop.
To recap:
- Define the Pod in a YAML file
- Apply the config through the API server
- Controller ensures it matches the desired state
- Scheduler assigns it to a node
- Kubelet on that node pulls the necessary image and starts the container
- Pod transitions to a Running state
